Install Ubuntu OS
Meshive only supports Ubuntu 24.04 LTS Server at the moment, running on bare metal. Desktop editions, other distributions, virtual machines, and GPU-passthrough setups are not supported. The supported version may change in the future; the install walkthrough below is for 24.04.
Why only one OS?
Section titled “Why only one OS?”Driver pinning, package management, and the host agent itself are all validated against the currently supported image. A uniform OS across the network is what lets Meshive promise consistent behavior to clients and roll updates safely.
Free space
Section titled “Free space”The partitioning step depends on how many disks you’ve put in the host. The two supported layouts are:
-
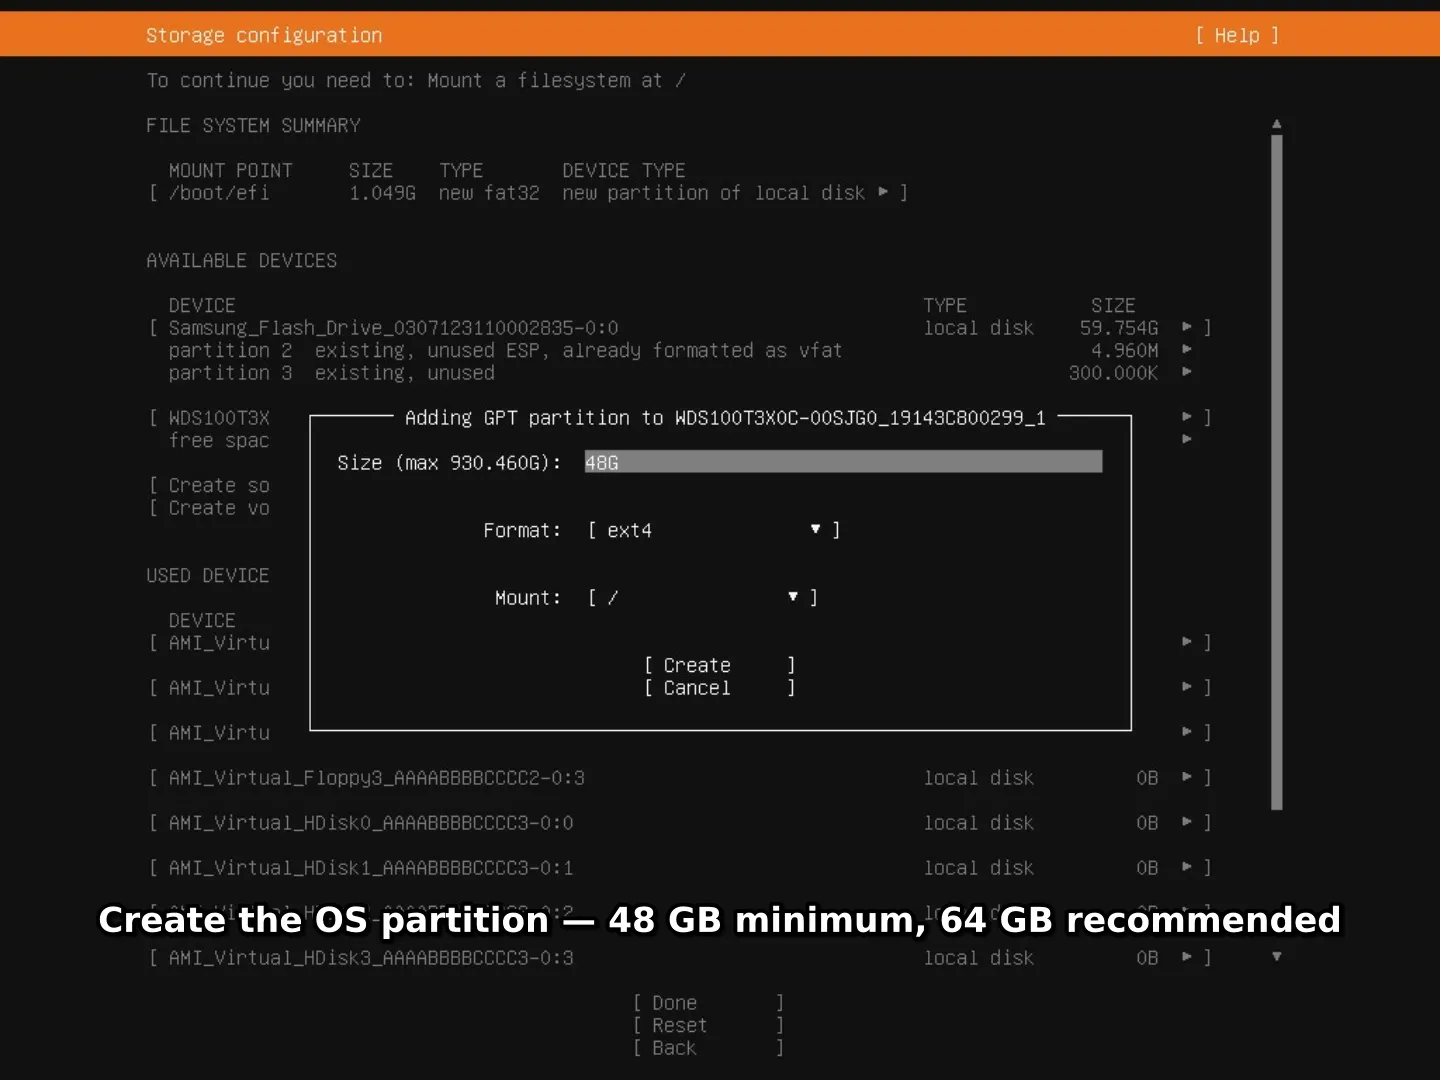
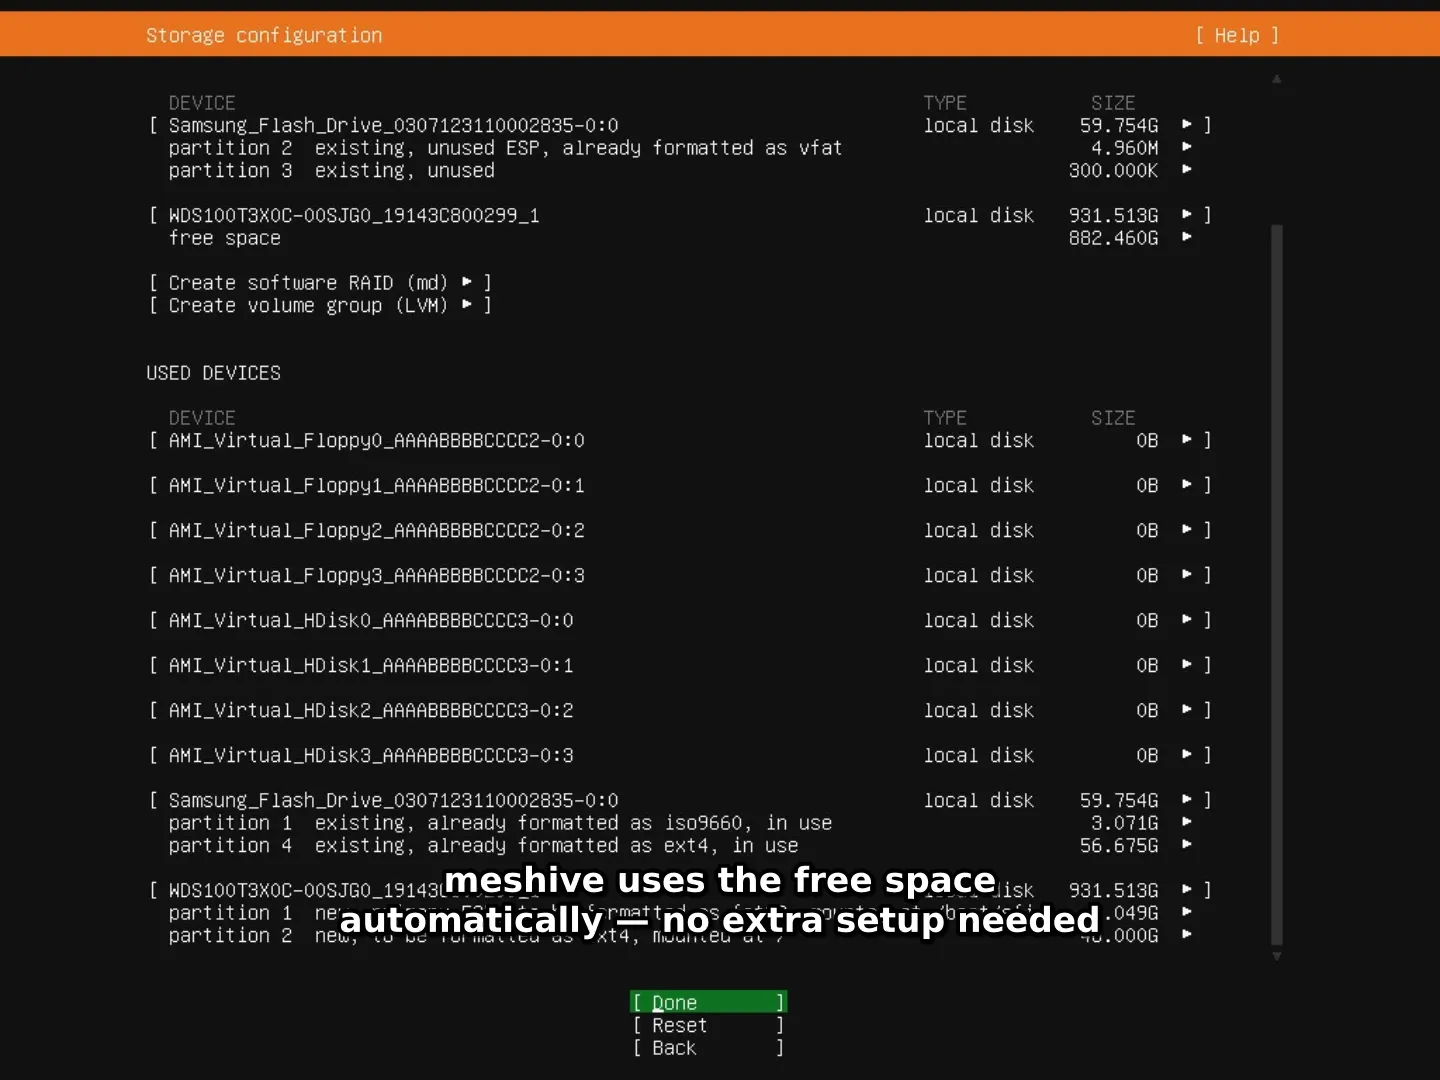
One disk (OS + data together). Set the OS partition to at least 48 GB (64 GB recommended) and leave the rest as raw, unpartitioned free space. The Meshive agent will lay out a data partition in that free space after the install.
-
Two disks (OS / data physically separated). Size the OS partition to fill the whole OS disk. Leave the entire data disk as raw free space.
Important behavior: the agent picks the disk with the most free space to host the data partition. So if you intend disk A to hold the OS and disk B to be the data store, make sure B has more free space than A. If A ends up with more free space after install, the agent will put the data partition on A instead.
For multi-disk scenarios beyond two disks, see Hardware & Network → Storage configuration.
Video walkthrough
Section titled “Video walkthrough”Step-by-step screenshots
Section titled “Step-by-step screenshots”Each screenshot corresponds to one screen of the Ubuntu Server installer.
-
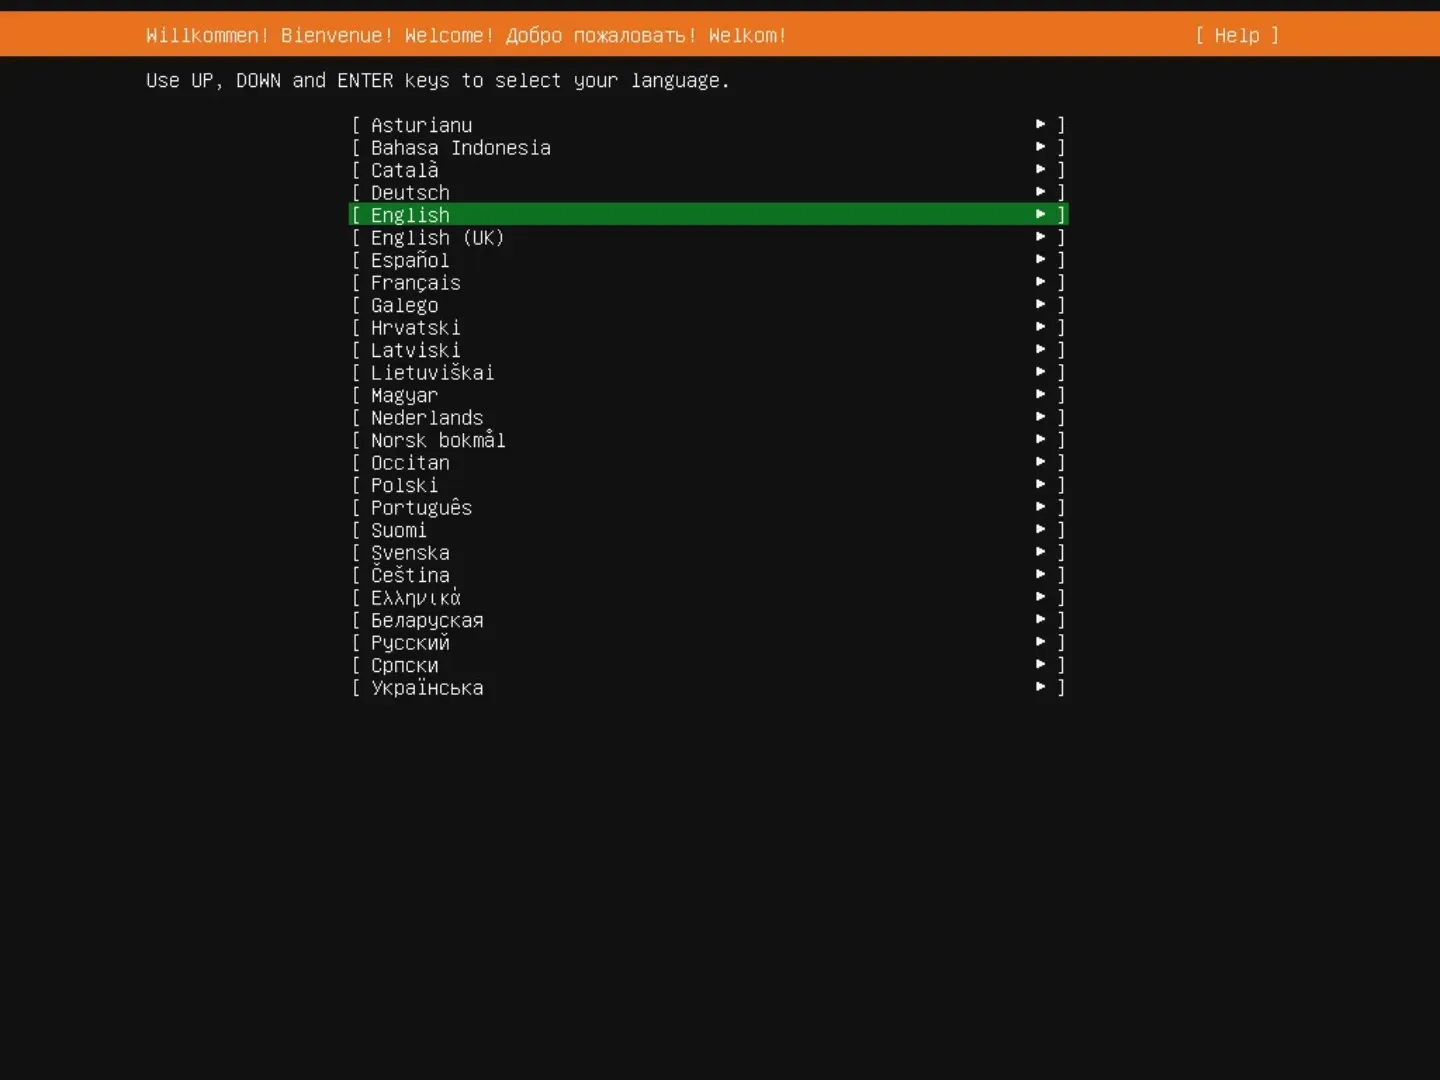
Language — pick anything you’re comfortable with; it doesn’t affect the install.
-
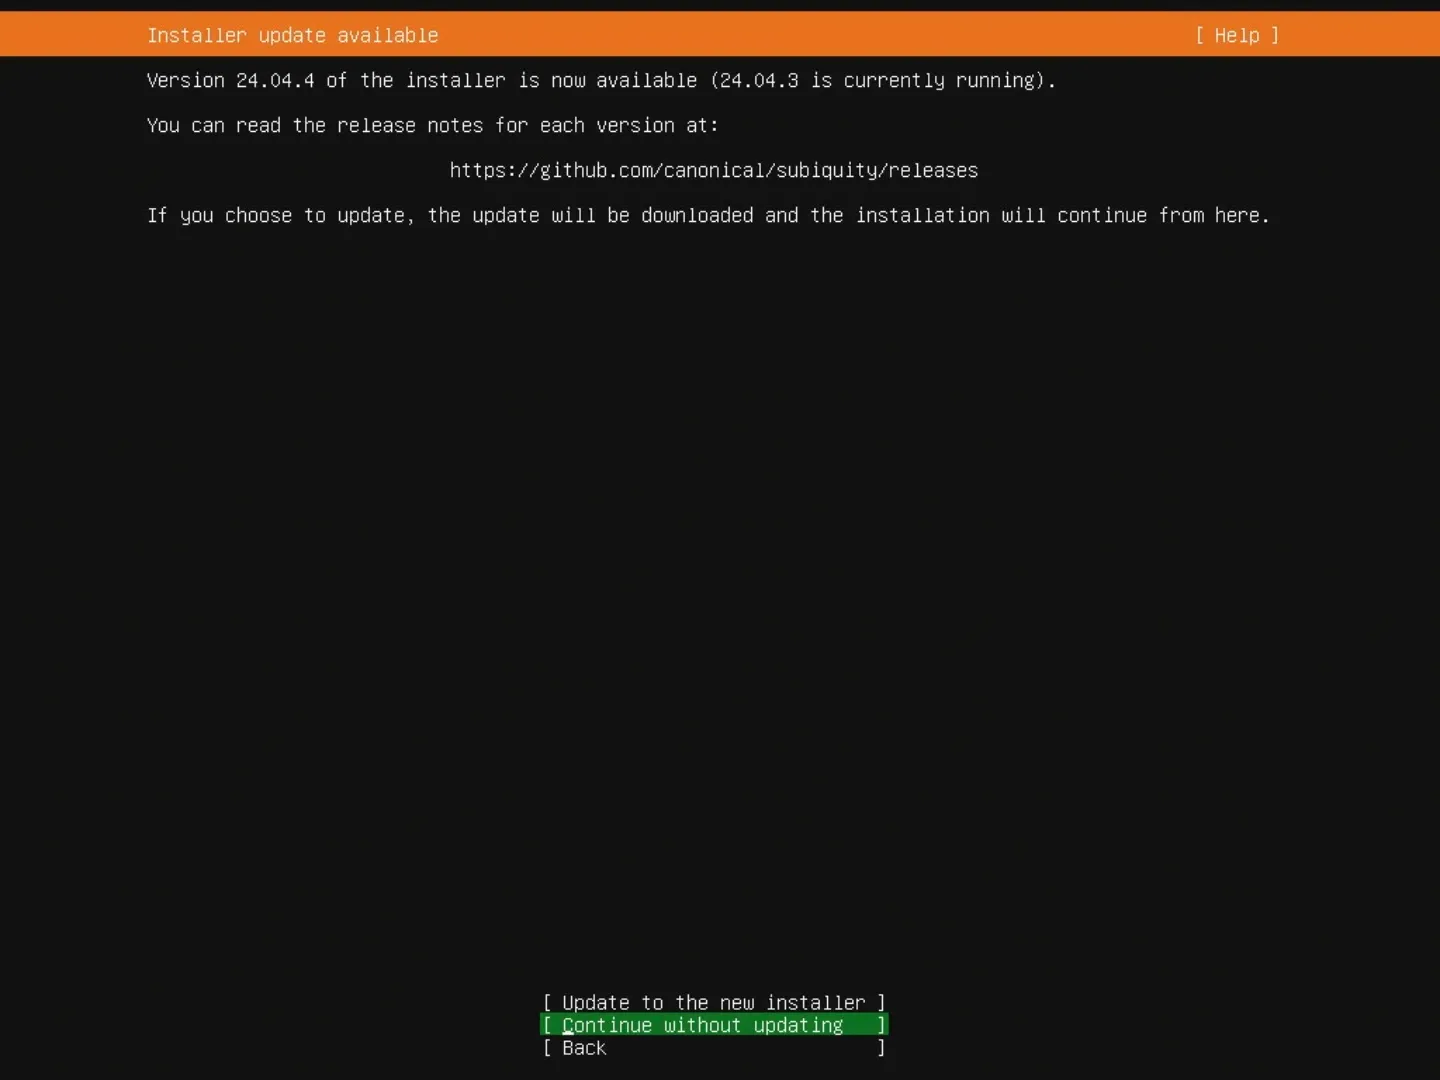
Installer update available — choose Continue without updating.
-
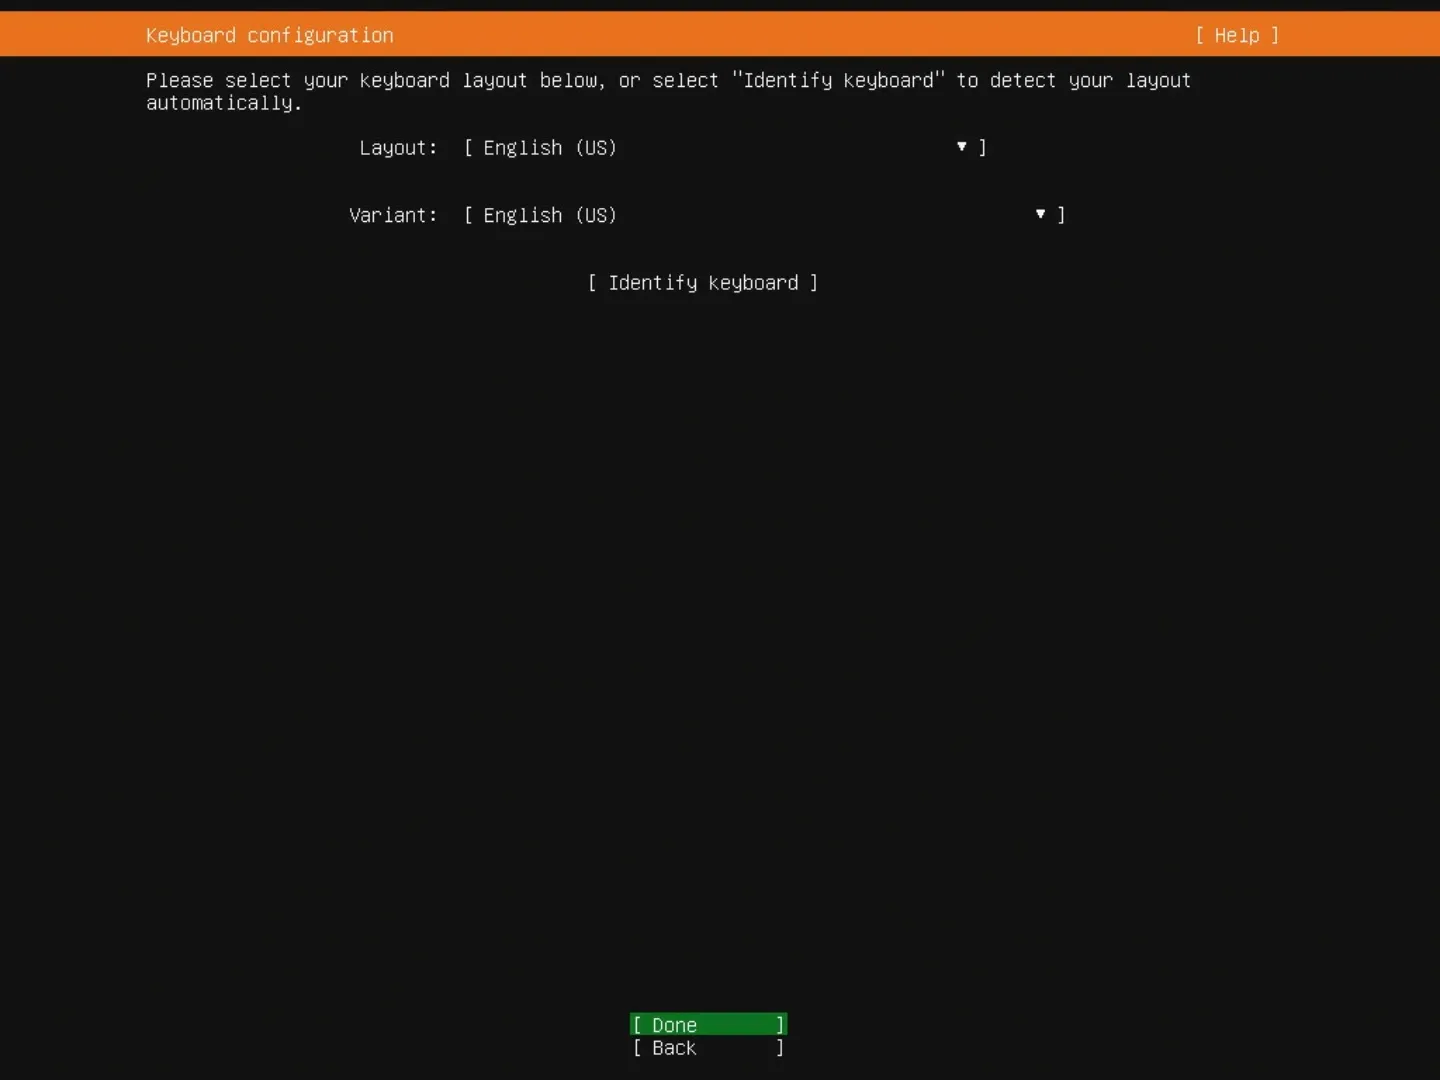
Keyboard configuration — defaults are fine; doesn’t affect the install.
-
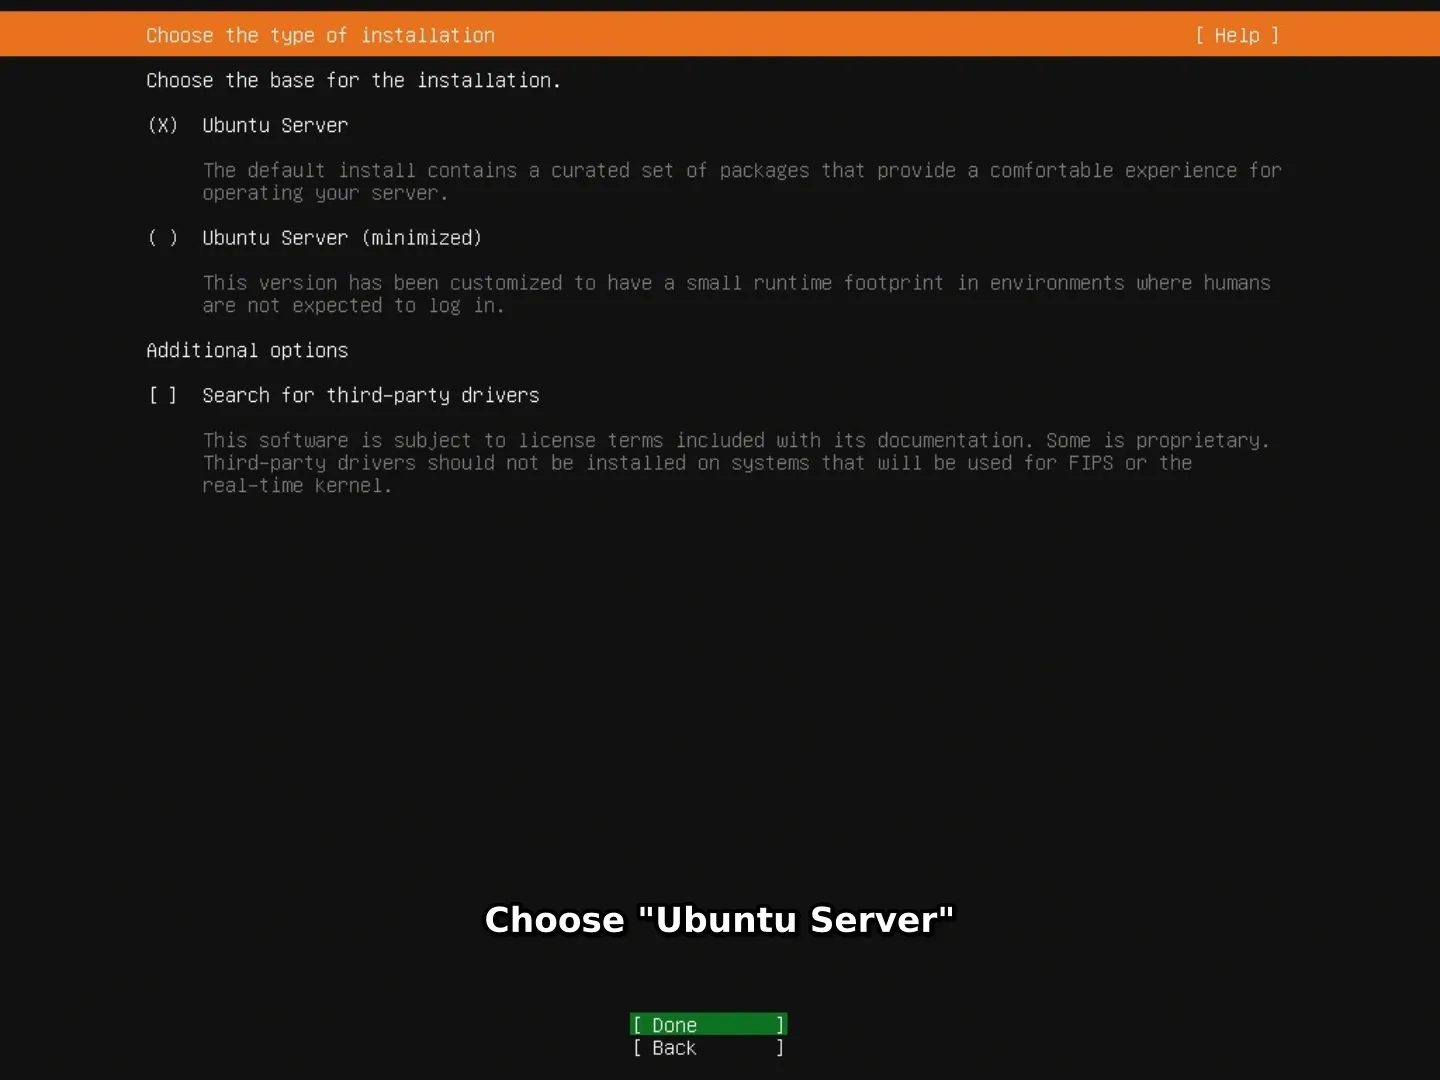
Type of Installation — pick Ubuntu Server (not the minimized image).
-
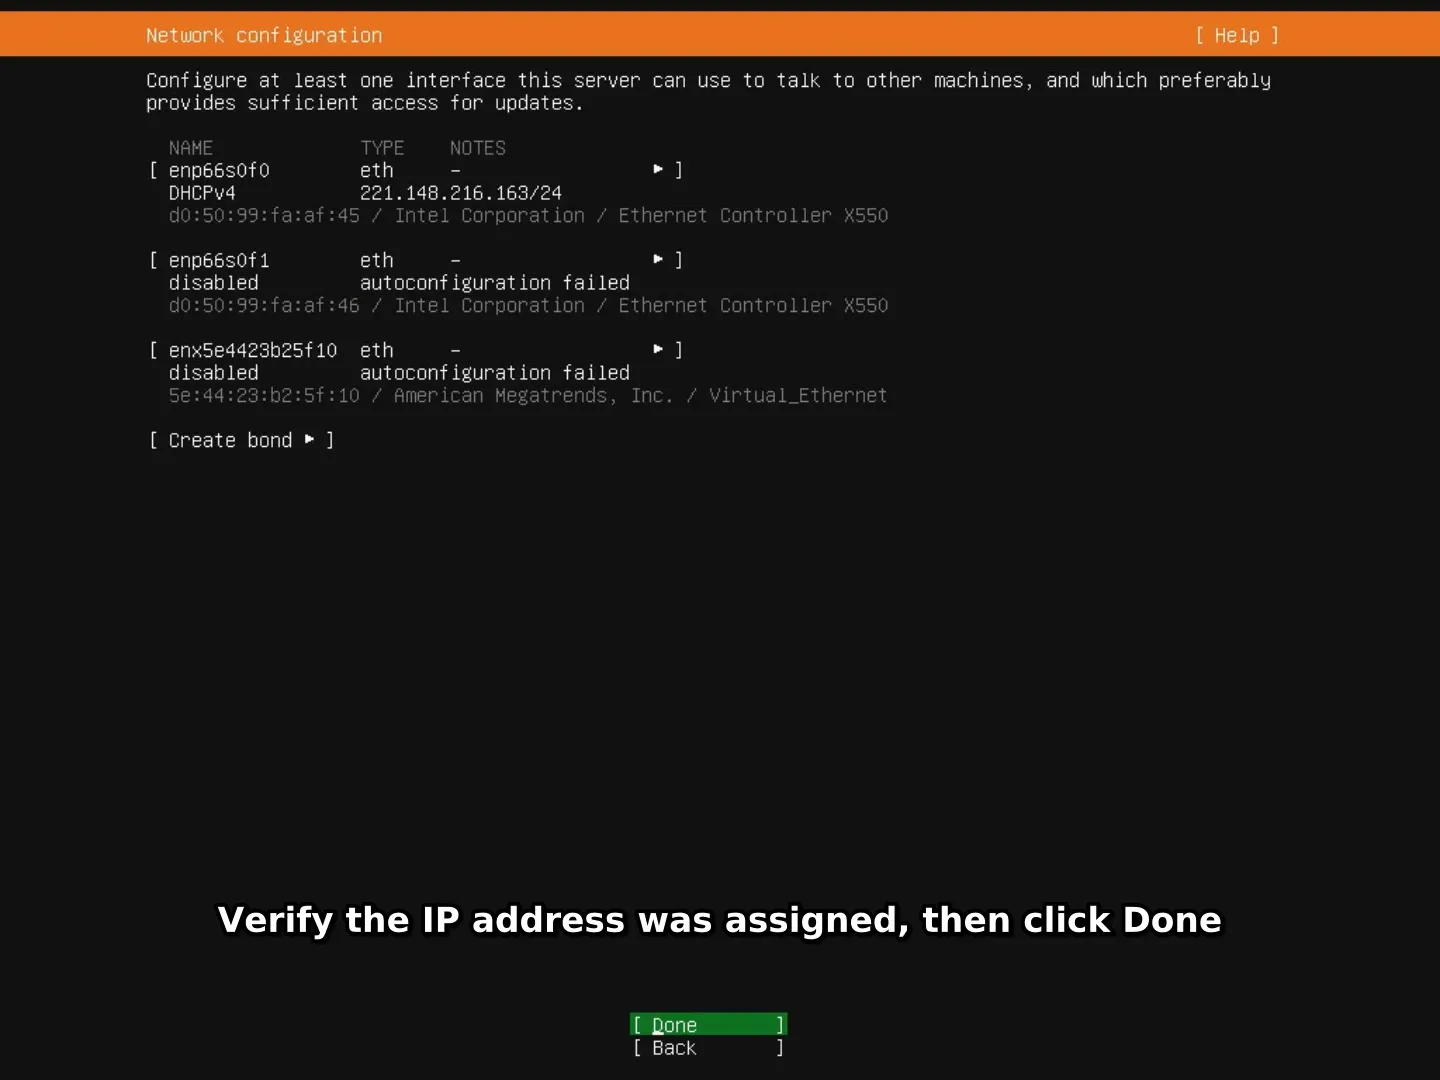
Network configuration — make sure the primary NIC has a working IPv4 address.
-
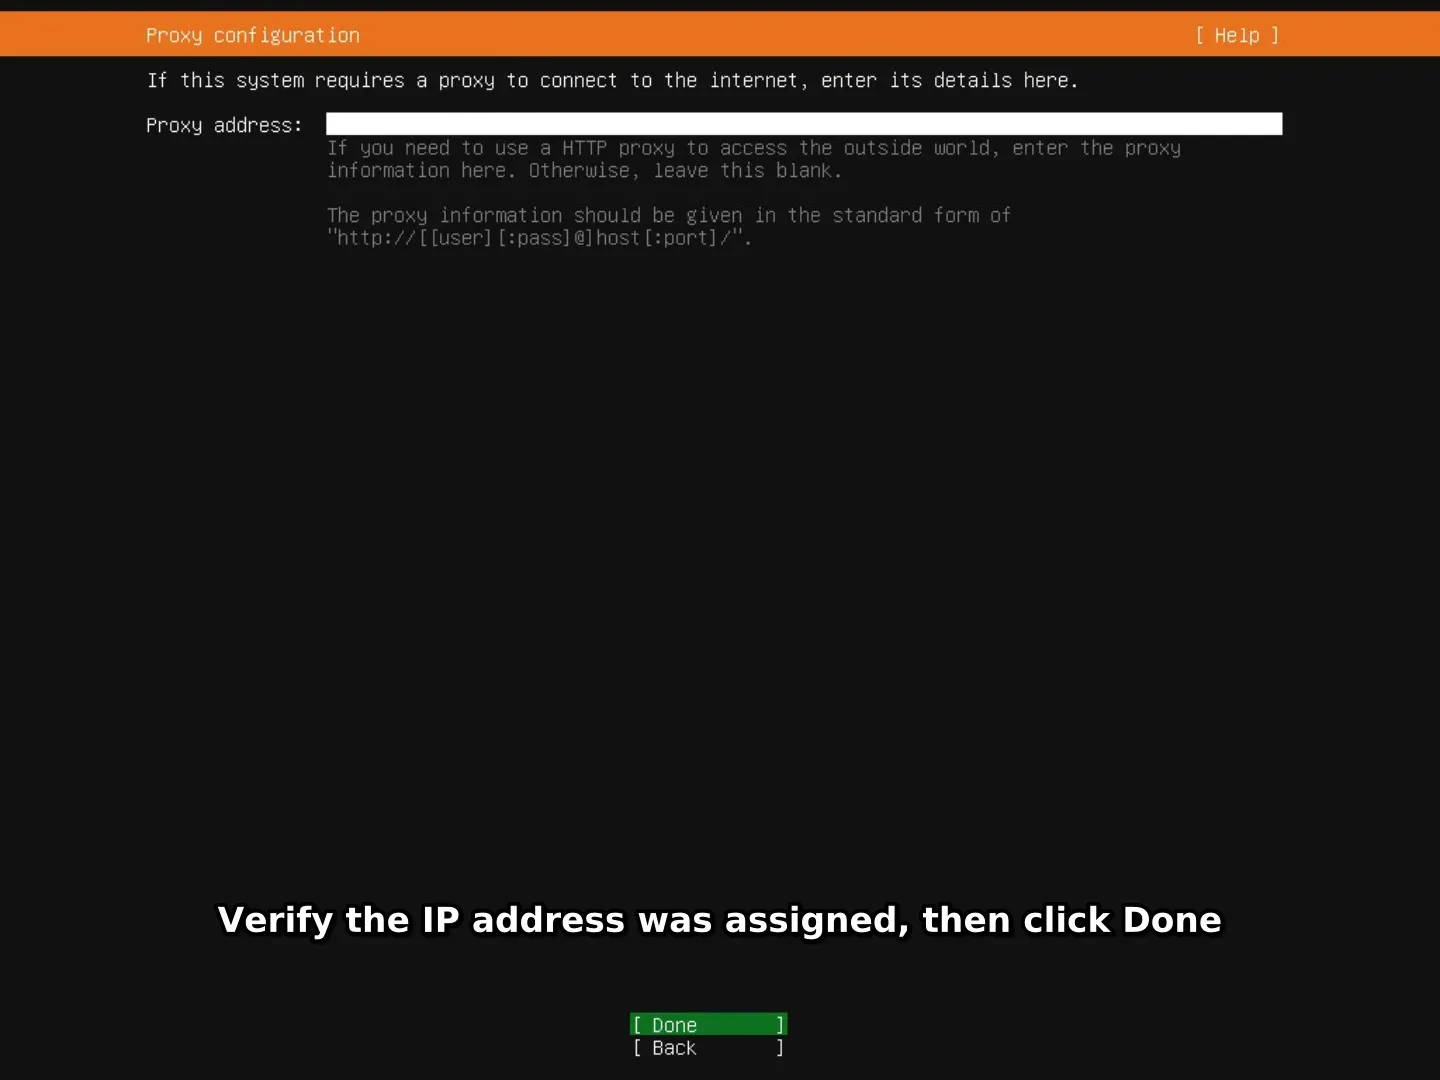
Proxy configuration — leave blank unless your network requires a proxy.
-
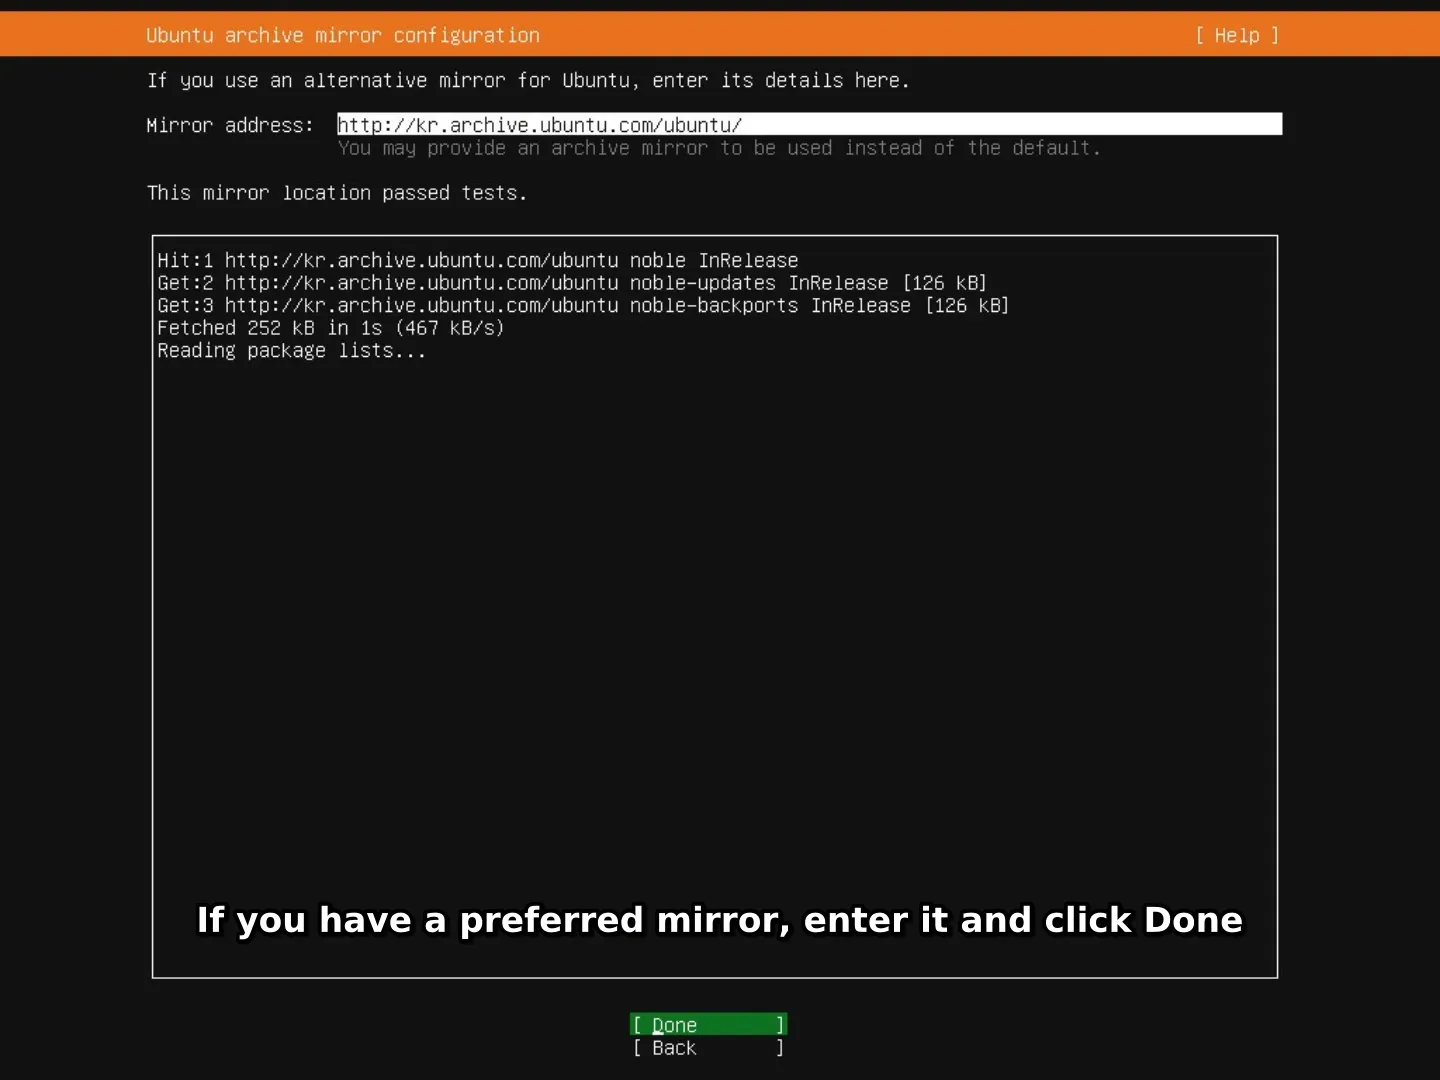
Ubuntu archive mirror configuration — the default mirror is fine.
-
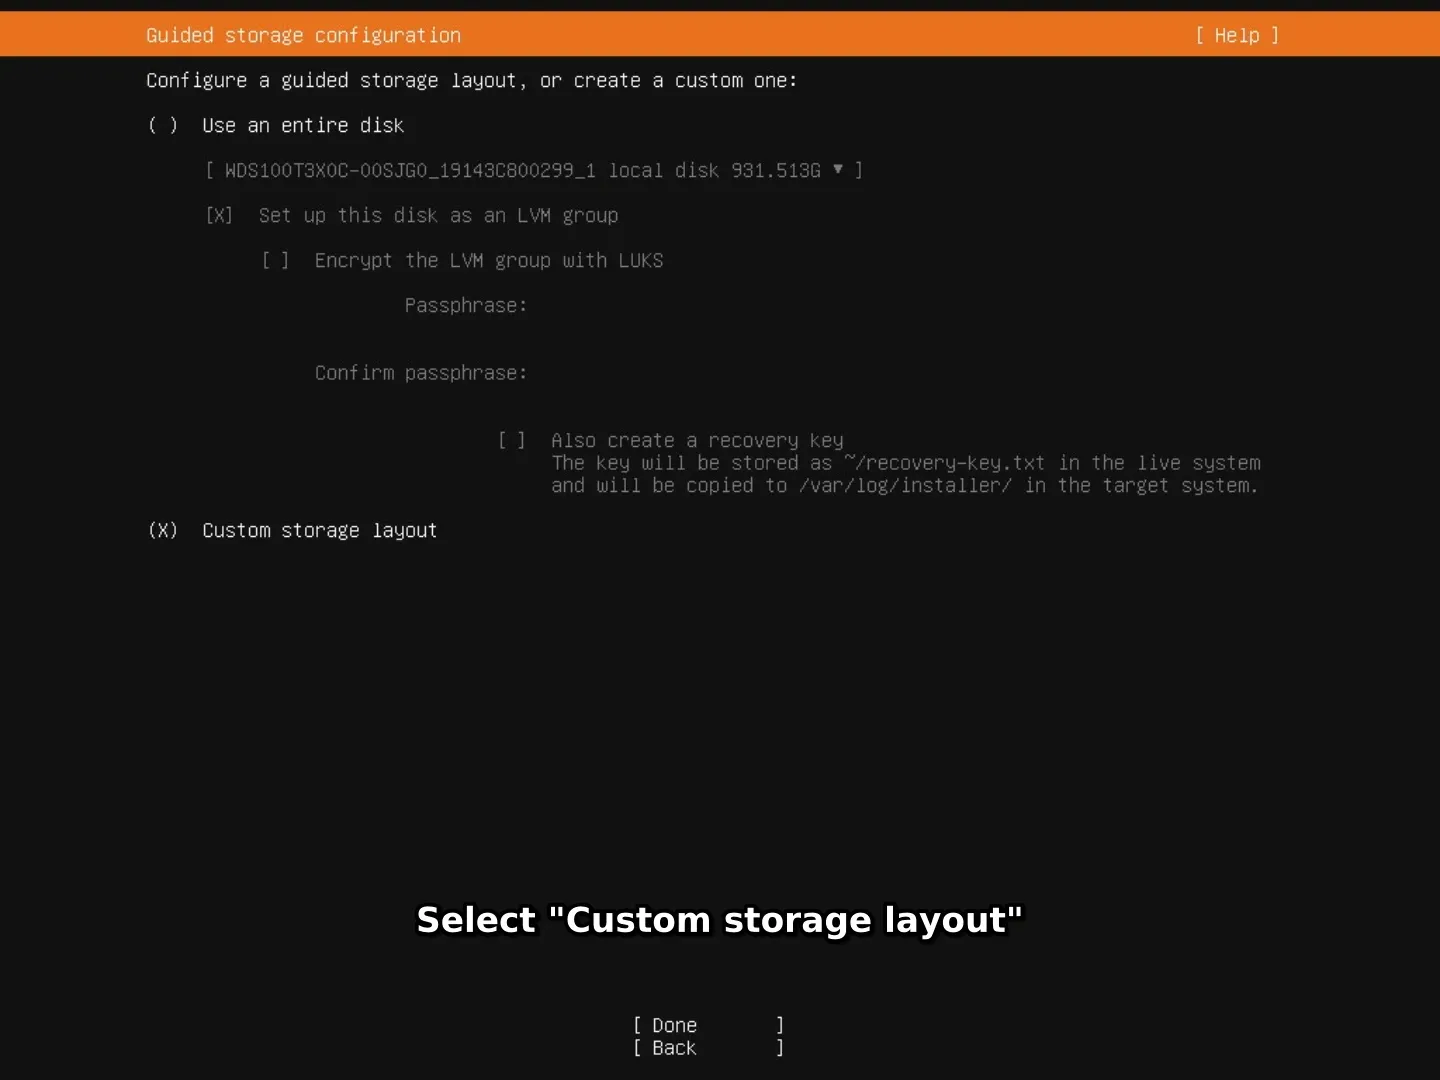
Storage configuration — layout type. Select Custom storage layout.
-
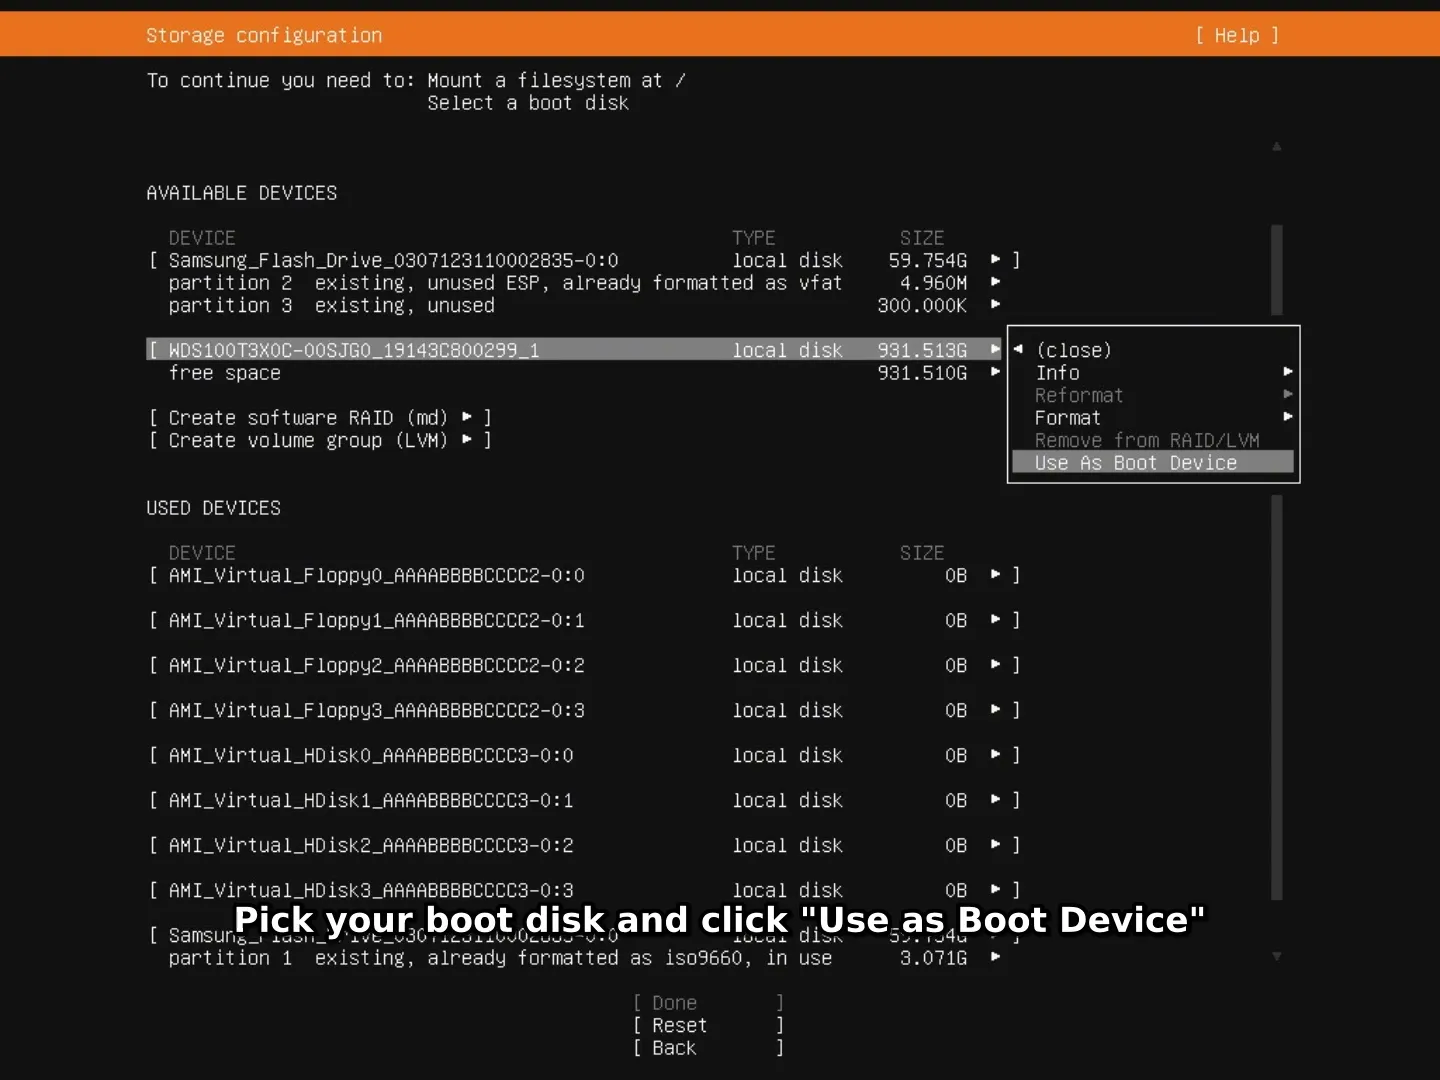
Storage configuration — boot disk. Pick your boot disk and click Use as Boot Device.
-
Storage configuration — partition size. If you’re using a single disk, set the OS partition to at least 48 GB (64 GB recommended). If OS and data are on separate disks, size the partition to match the OS disk.
-
Storage configuration — confirm. Confirm the destructive action.
-
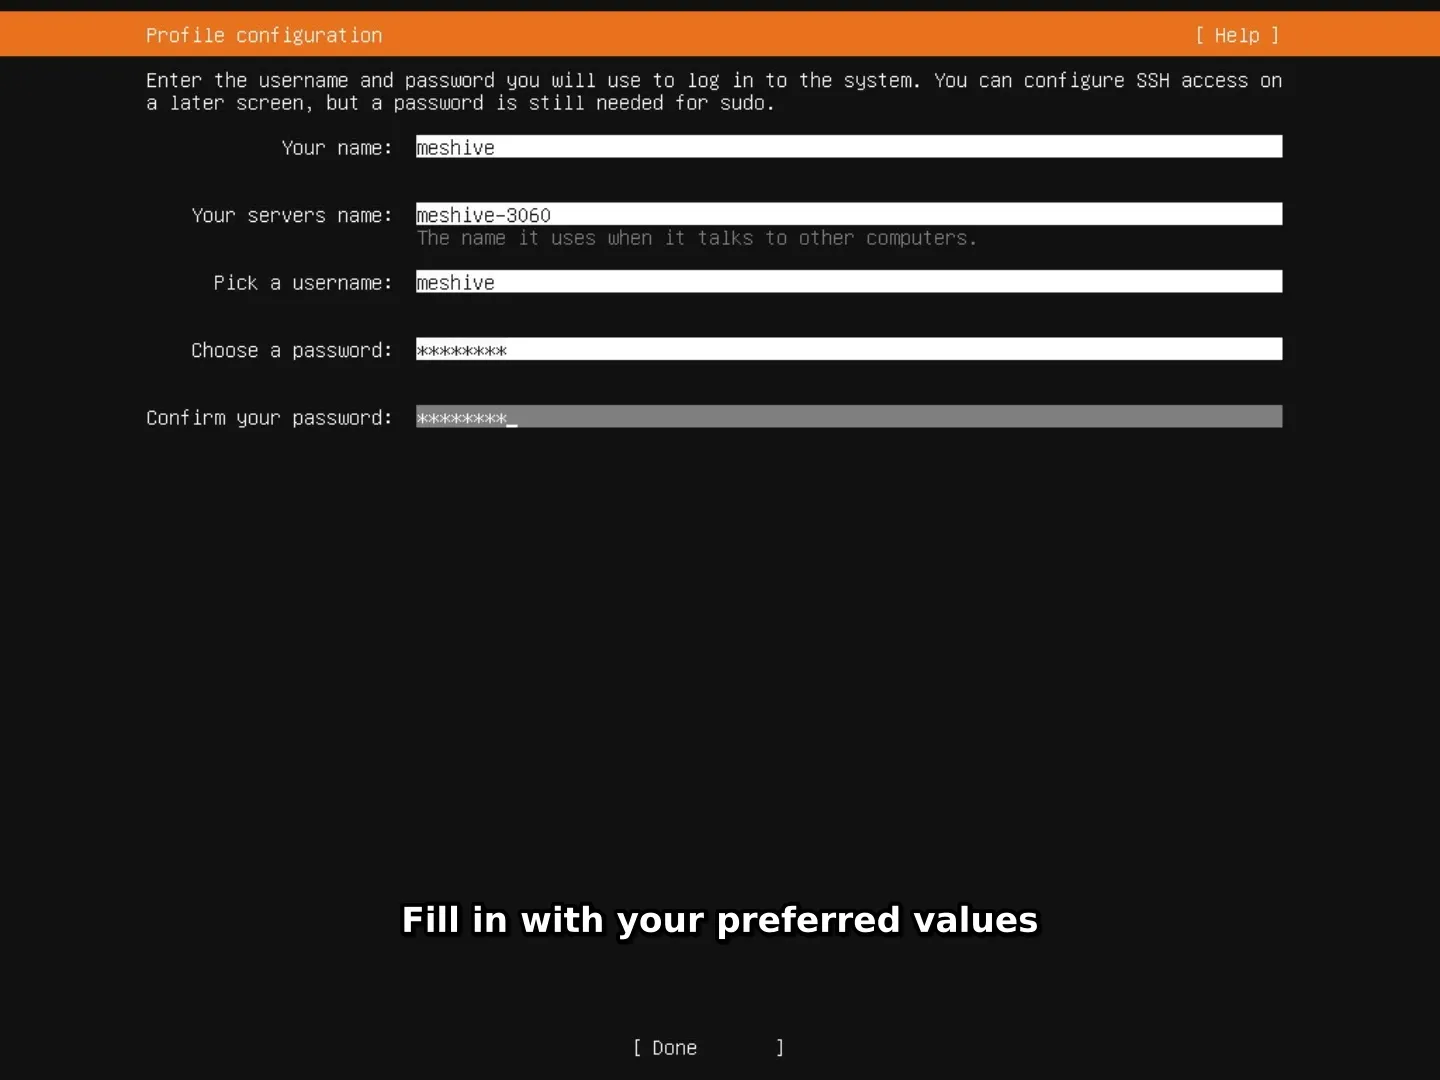
Profile configuration — set a hostname and admin user; you can pick anything (Meshive provisions its own rotating credentials later).
-
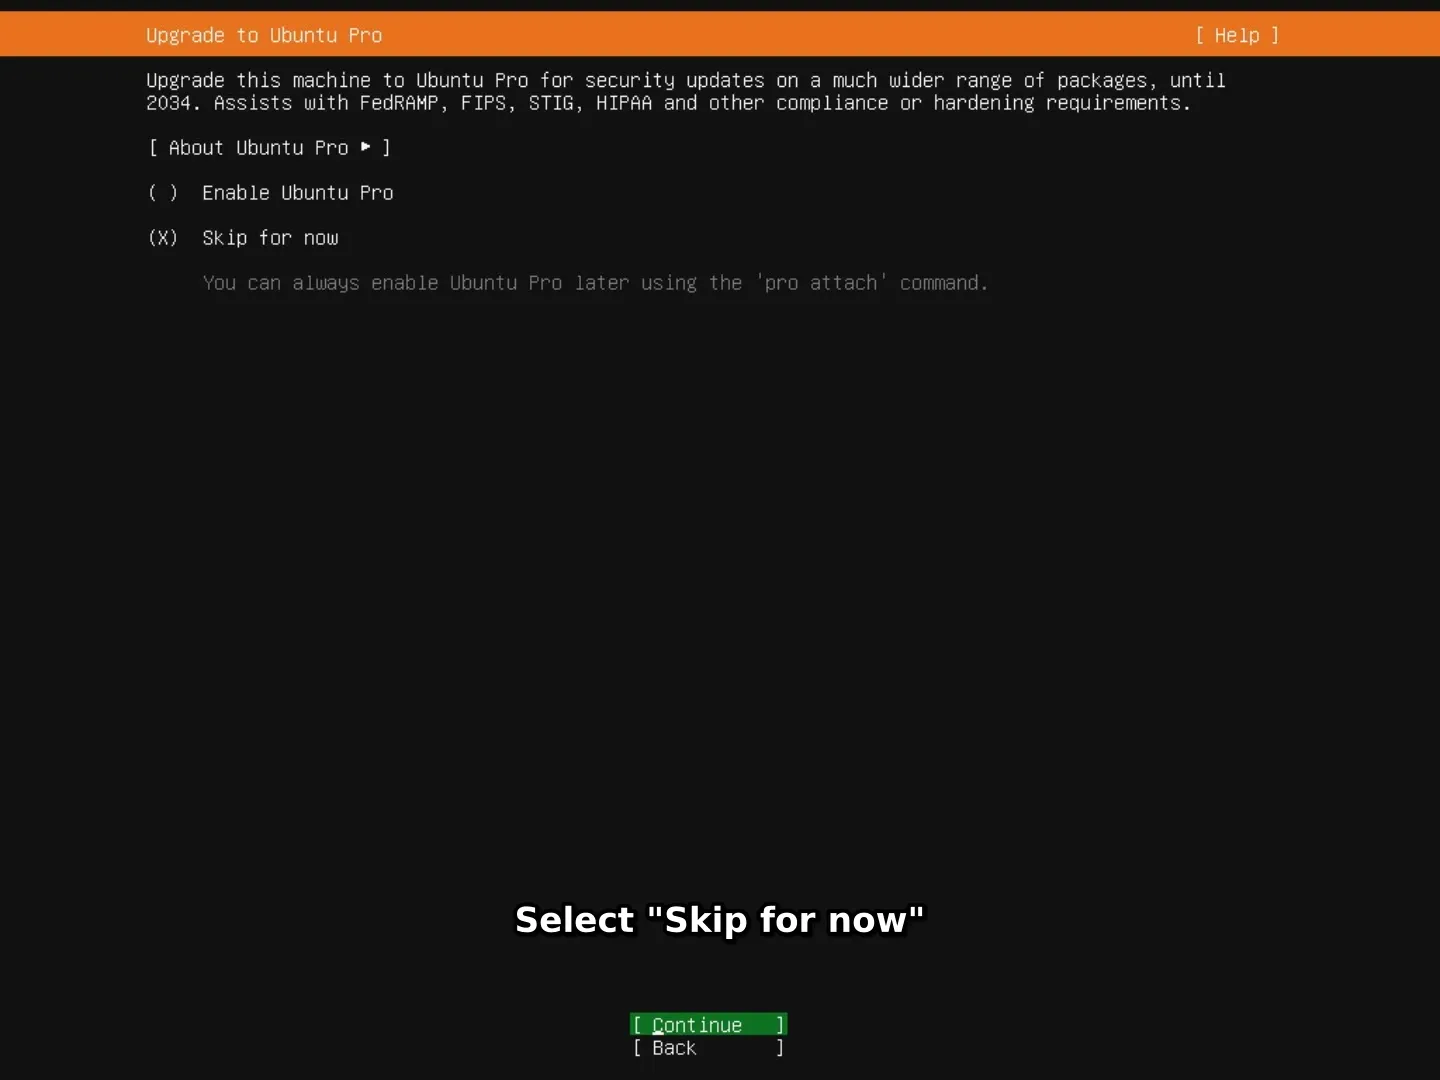
Upgrade to Ubuntu Pro — choose Skip for now.
-
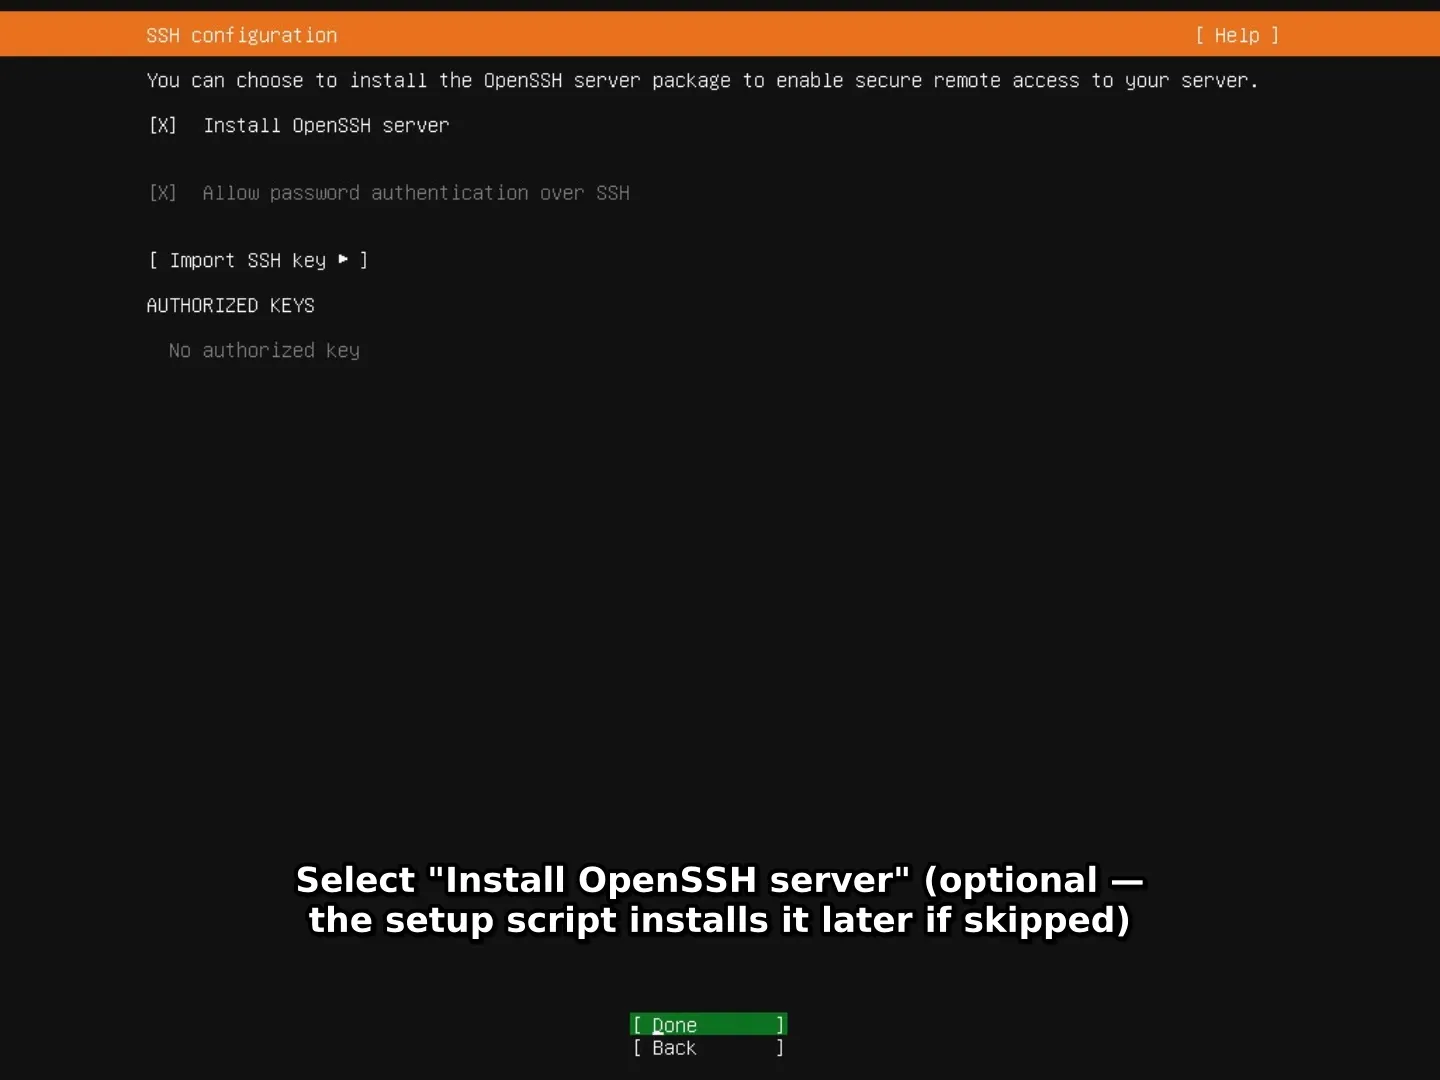
SSH configuration — installing OpenSSH server here is optional; the Meshive agent will install and manage SSH for you regardless.
-
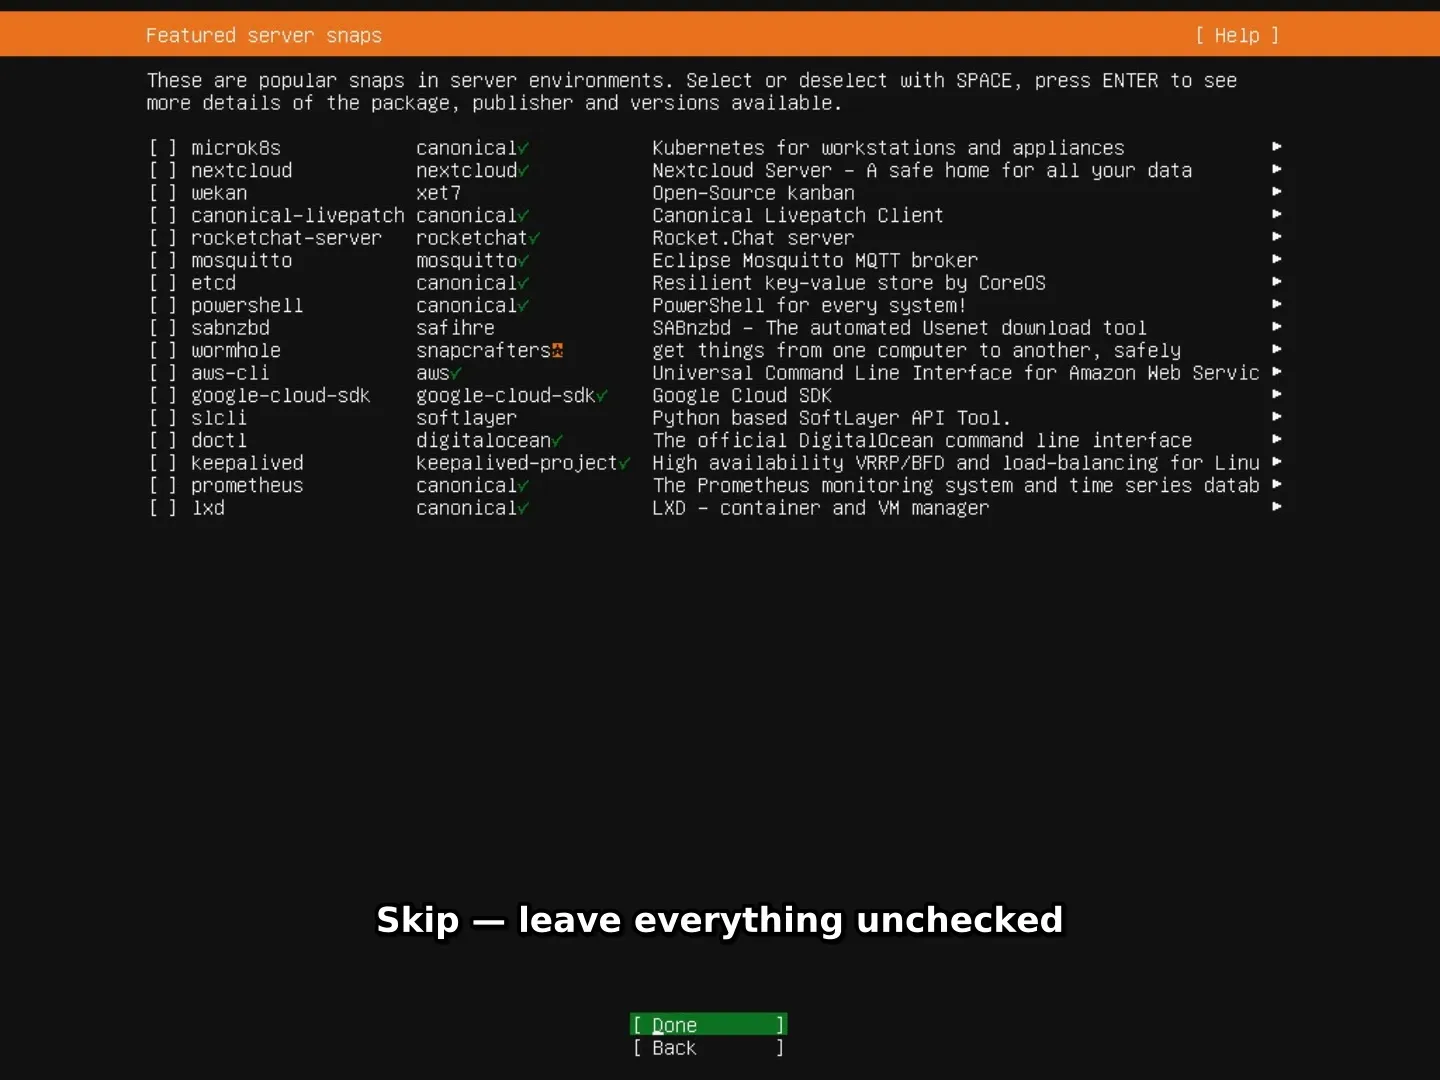
Featured server snaps — leave everything unchecked and continue.
-
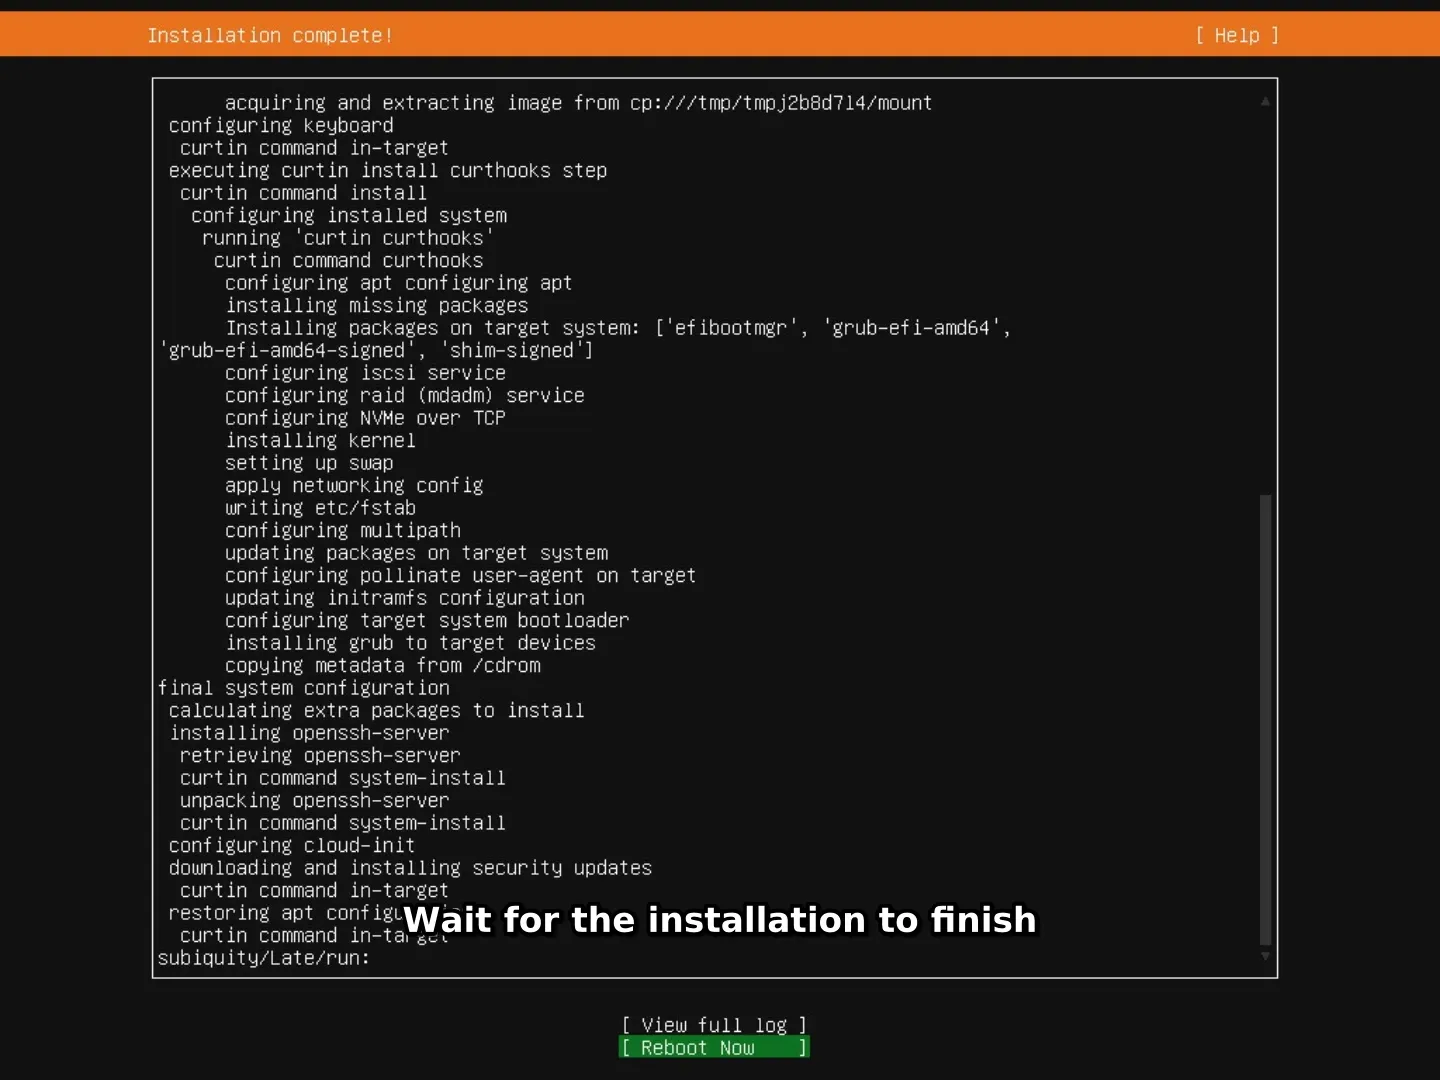
Installation complete — reboot and head to Onboarding.